Raspberry PiにてFlightAware+Flightradar24+RaderBoxへのフィードをする
投稿日: 2020年5月31日 20:28
※RadarBoxでのMLAT段取に誤記があるため、後日訂正します
Raspberry PiとRTL-SDR USBドングルを用い、タイトルに挙げた3サイトへ受信した航空機の位置データを送信する。
利点
- これらのサイトはデータ提供者に対し、見返りとして自社のプレミアムサービスを提供している
- 近所にほかの提供者がおらず、近い空港へ高度を落とした機体がサイトで確認できなかった
ハードウェア
- Raspberry Pi本体
- 安価なのはPi Zero (無印)、本体だけならスイッチサイエンスで660円+送料200円(一人一つ限定)
- ただしNICがないため、別途有線なり無線なりUSBアダプタが必要
- Pi ZeroにWiFiがついたPi Zero W、それにGPIOポートがついたPi Zero WHもあるが、現在費用対効果が悪い
- Pi 4の2GB版は5,000円~
- Pi 3 Model A+は3,300円程度
- フィード目的だけなら、上記の5機種で一応スペック的に問題ない
- ケース:筐体はお好みだがあったほうがいい、連続稼働前提なのでヒートシンクは準備したい
- 安価なのはPi Zero (無印)、本体だけならスイッチサイエンスで660円+送料200円(一人一つ限定)
- RTL-SDR USBドングル
- 早い話、RealtekのRTL2832U+R820Uが載ったワンセグチューナー、というと2014年ごろ一部で話題になったか
- 例えばこれ、アンテナ付属と思われる
- Amazon等で探そうにも地雷交じりなので注意
- TCXO搭載謳っておきながらいざ受信してみると伸びないので殻割ってみたら嘘っぱちだったことがあった
- microSDHC/XCカード
- OSイメージを起動させる、8GB~16GBあればよい
- AC-USB電源アダプタ
- Pi Zeroは5V 1Aあればよいが、Pi 3は2.5A、Pi 4は3Aも要求するので、機種に応じ見合うものを
- Pi 3や4の場合、接続する電源用USBケーブルの対応電流を見落としがちなので注意
- (Pi Zero系の場合)microUSBからTypeAに変換する器具
- 場合によってはUSBハブも
- USB延長ケーブル
- 設置場所の関係でアンテナだけ離したい場合、アンテナ~ドングル間の信号減衰が大きめの為、ドングルごとUSB延長でとりまわした方がよい
準備
FlightAware、Flightradar24、RadarBoxのユーザ登録は事前に済ませておく。
Raspberry Pi OS(旧称Raspbian)イメージをダウンロードし、microSDに焼込む。recommended softwareは不要なので右上の「Image with desktop based on Debian Buster」で行った。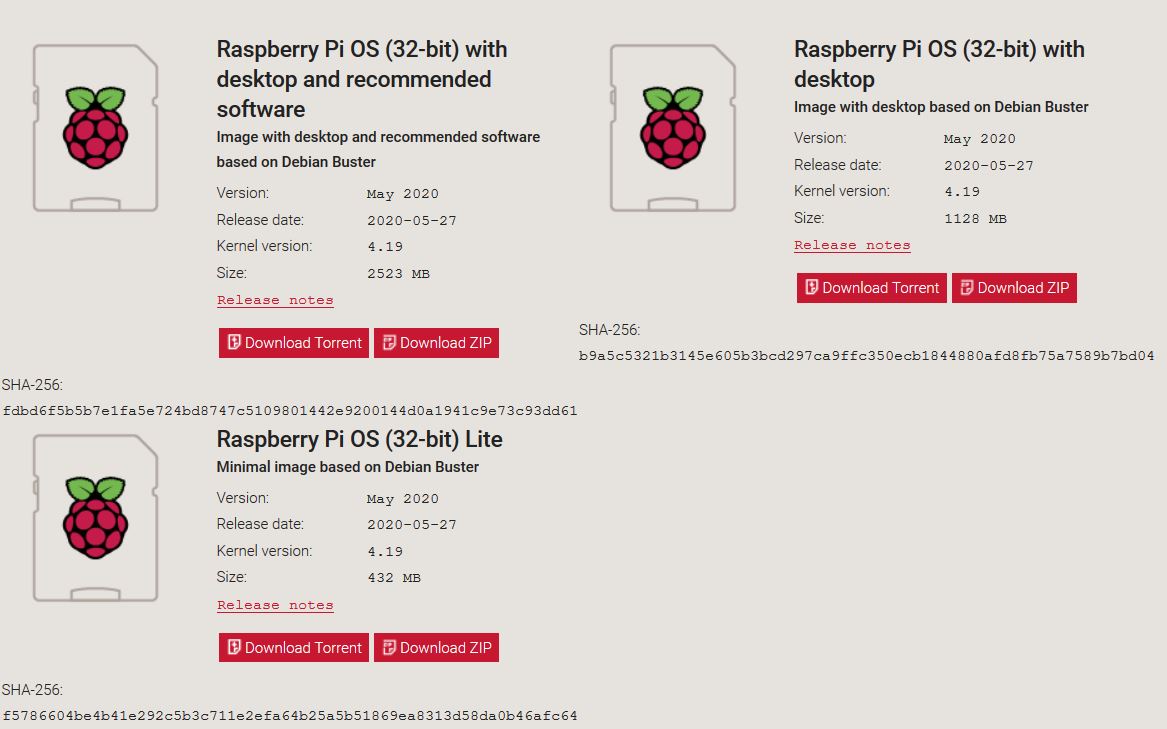
microSDへの焼込みは公式のRaspberry Pi Imagerを使うのが良いと思う
Raspberry Piに公式のイメージ書き込みツール「Raspberry Pi Imager」がリリースされてセットアップが超便利に #RaspberryPi | Developers.IO
手順
OSを焼いたmicroSD、マウスキーボード、モニタのHDMIケーブルを接続し、電源のUSBケーブルを接続すると、LEDがチカチカし始め勝手に起動する。
GUIによる初期設定は以下を参照されたい。
Pi/OS/Raspbian・Busterの初期セットアップ手順 – ミニPC&シングルボードコンピュータ活用術
IPアドレスを固定する。
Raspberry Piの設定はGUIで (5) 固定IPアドレス | 電子工作の環境向上
アンテナ設置場所の都合も考えればRaspiにモニタキーボード接続するのも怠いので、SSH(or/and VNC)を有効にする。左上隅スタートボタン→設定→Raspberry Pi の設定→インターフェイス でSSH、VNCのラジオボタンを有効に変更
以下、別のPC、MacからSSHで接続し作業する。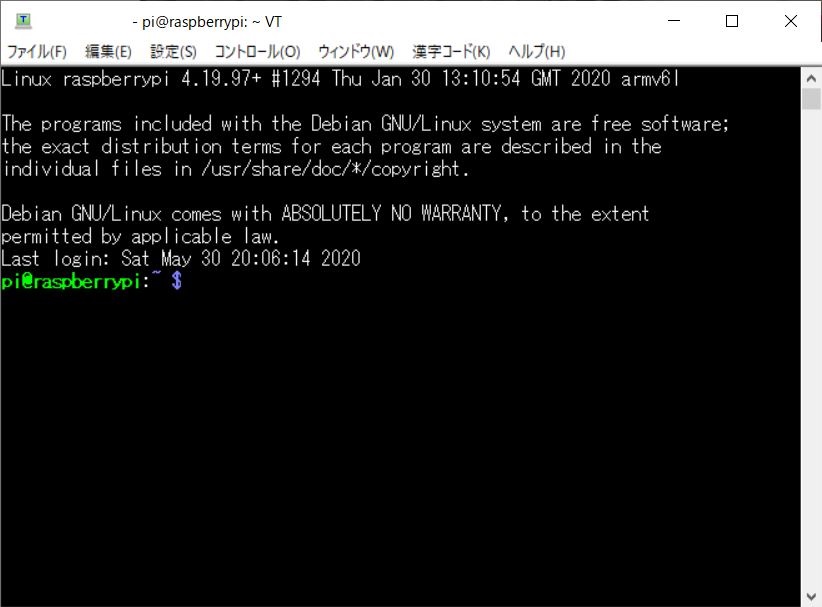
まず、パッケージ(リスト)のアップデート、OSのアップデート、ファームウェアのアップデートをしておく。
sudo apt-get update
sudo apt-get upgrade
sudo apt-get dist-upgrade
sudo rpi-update
sudo reboot
FlightAware
2020年5月31日現在、PiAwareの最新バージョンは3.8.1のため、それに沿う。
wget https://ja.flightaware.com/adsb/piaware/files/packages/pool/piaware/p/piaware-support/piaware-repository_3.8.1_all.deb
sudo dpkg -i piaware-repository_3.8.1_all.deb
sudo apt-get update
sudo apt-get install piaware
sudo piaware-config allow-auto-updates yes
sudo piaware-config allow-manual-updates yes
信号をデコードするソフトウェアのDump1090をインストールする。
sudo apt-get install dump1090-fa
sudo reboot
再起動するのでしばらく待ち、Raspberry PiのIPアドレス:8080 でアクセスするとDump1090のWeb UIが表示されているはずである。この画面で表示される機体は手元でデコードした結果そのまま。

Raspberry Piと同一IPで https://ja.flightaware.com/adsb/piaware/claim へアクセスしていれば、自動で一意のフィーダIDが登録される。
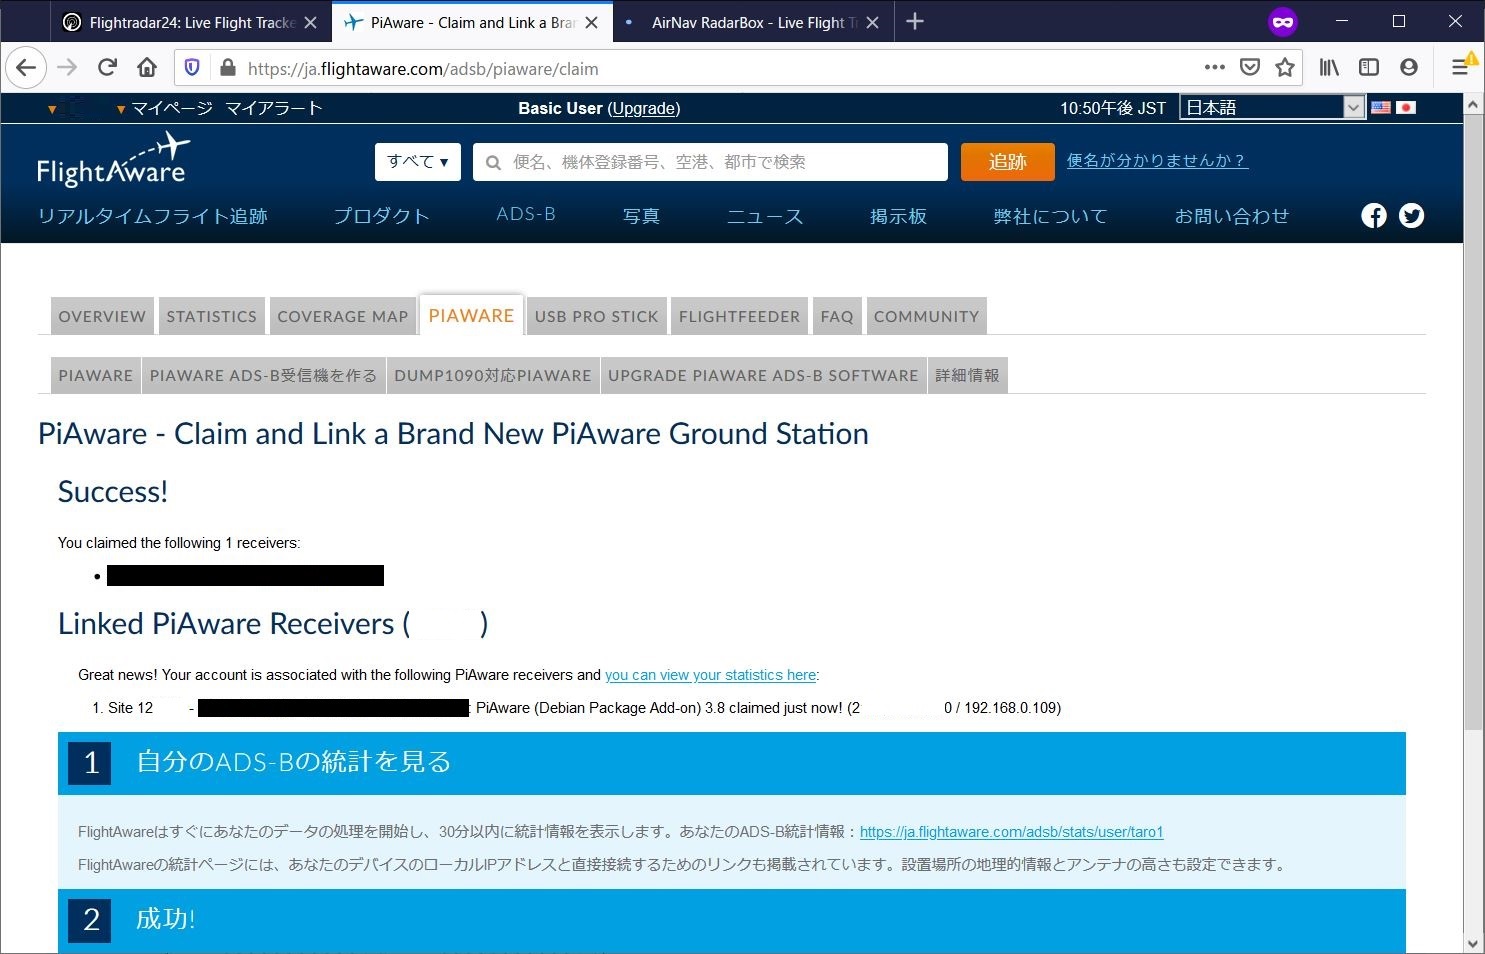
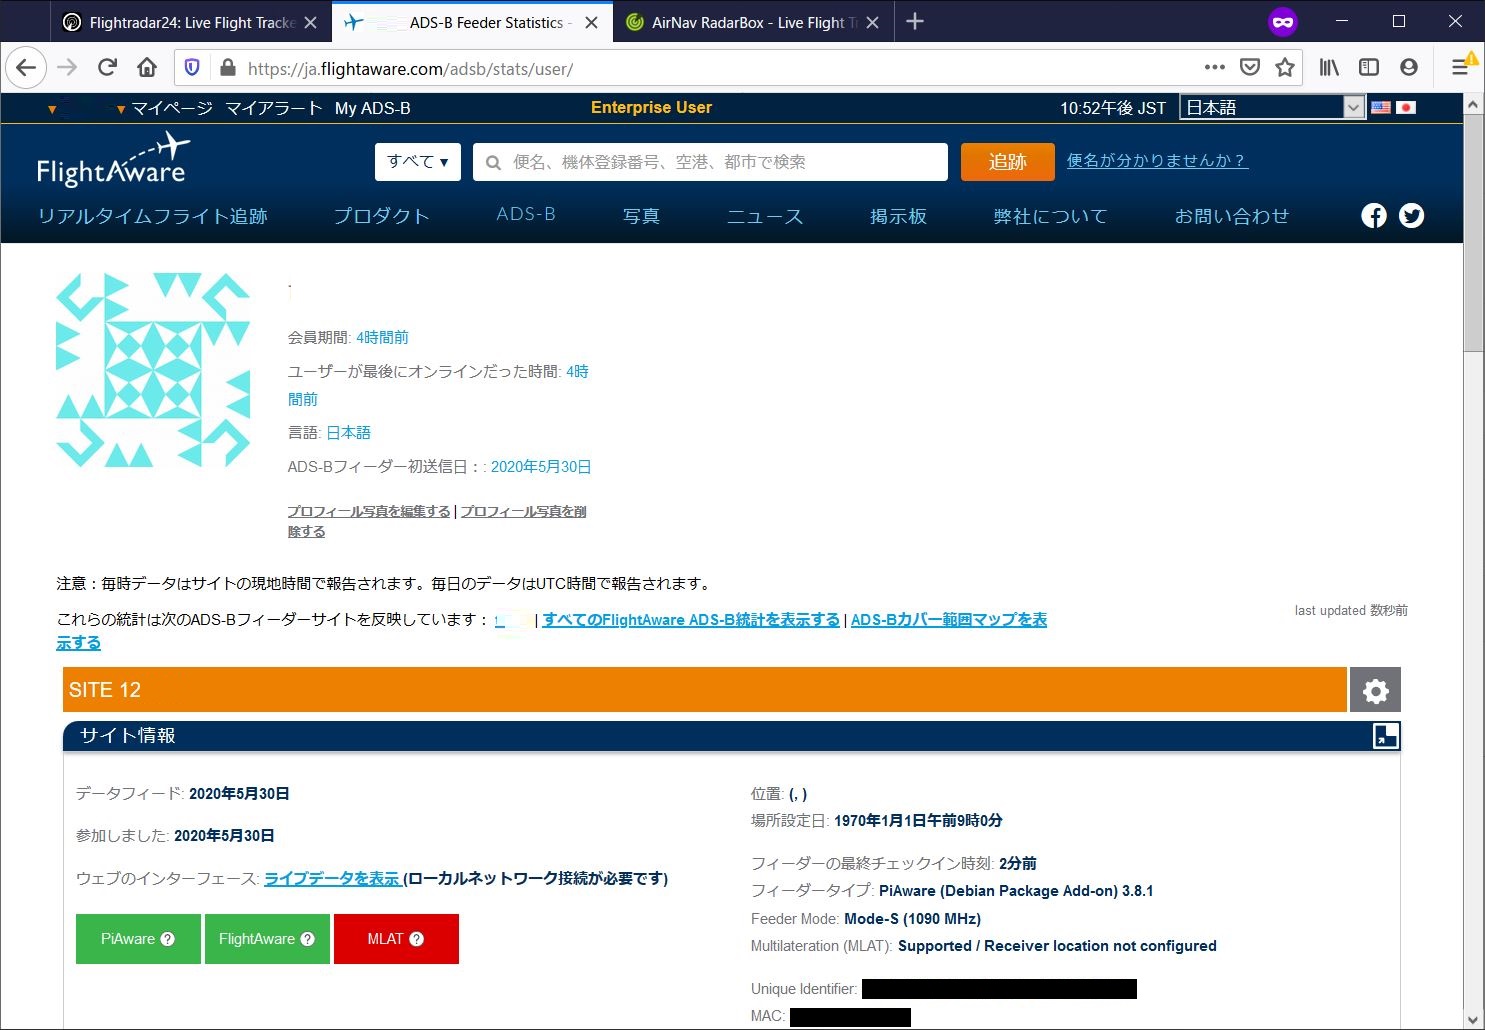
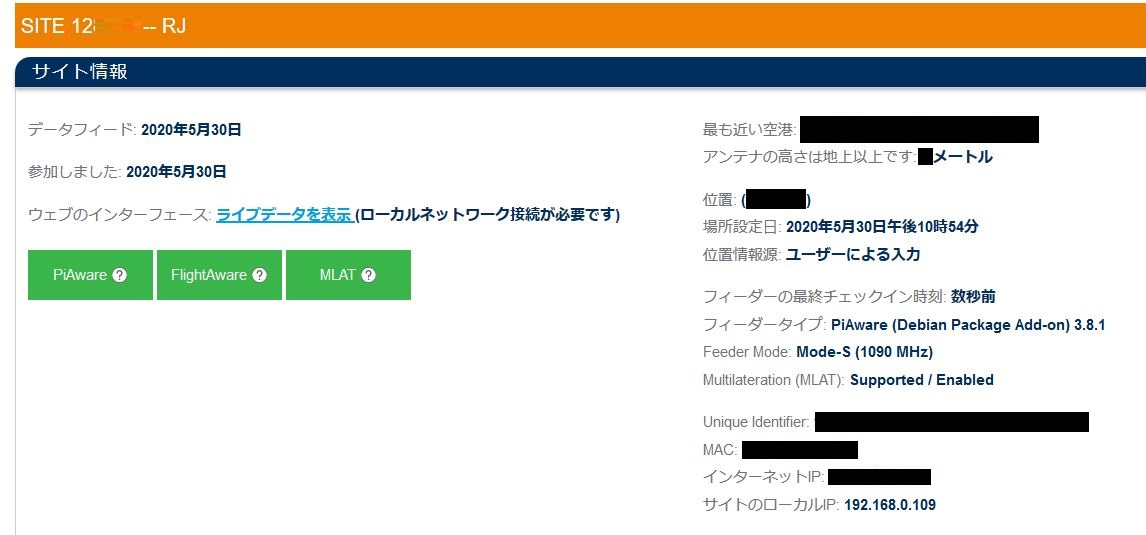
https://ja.flightaware.com/adsb/stats/user/**** のユーザページにアクセスすると現在認証されているStationが表示される。
マルチラテ (MLAT) 測位には受信機の位置情報が不可欠なため、左下MLATのインジケータは赤色表示されている。このためSITE 12**** 右隣の歯車をクリックし、設定する。
「サイト名」はその受信機に付けるニックネーム的なものだが、ほかのFlightAware登録ユーザーも参照できるので、No.1,2,3…といった無機質なものがよいと思う。1台受信なら空欄でよいかと。
「カバー範囲マップの精度」はおそらく、下のEdit Locationで設定した受信機の位置情報が公開されるが実際の位置からずらしてぼやかす閾値のことでないかと思われる。
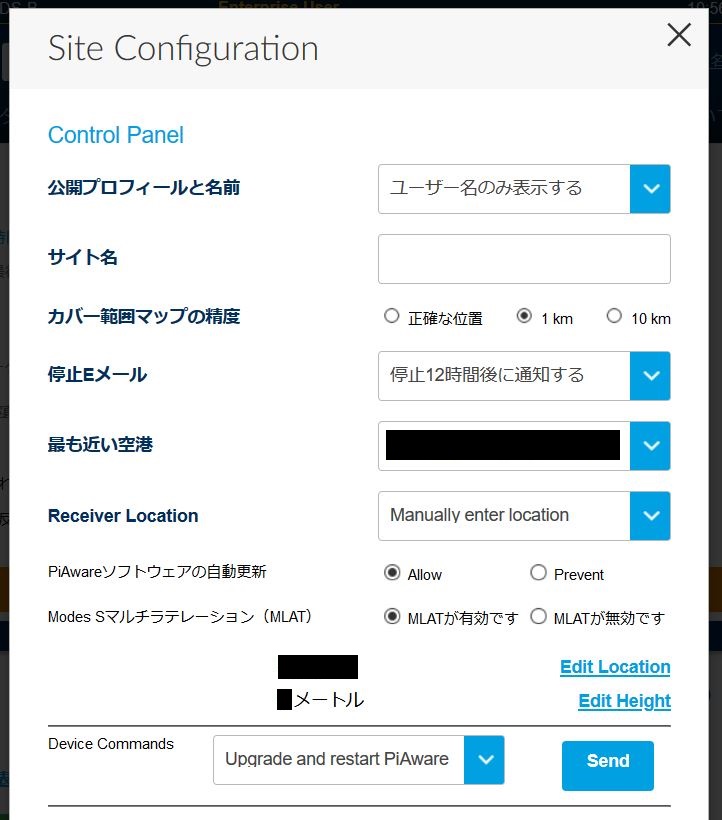
Locationの緯度経度を入力し終え最寄りの空港を設定すると、日本なのでRJ**と追加され、MLAT測位も稼働し始めた。
右下Unique IdentiferやMACアドレス、IPアドレスは自分しか表示されない模様。
Flightradar24
続いてFR24
sudo bash -c "$(wget -O - https://repo-feed.flightradar24.com/install_fr24_rpi.sh)"
訊かれるので、いくつか返事をする。
Welcome to the FR24 Decoder/Feeder sign up wizard!

Before you continue please make sure that:

1 – Your ADS-B receiver is connected to this computer or is accessible over network
2 – You know your antenna’s latitude/longitude up to 4 decimal points and the altitude in feet
3 – You have a working email address that will be used to contact you
4 – fr24feed service is stopped. If not, please run: sudo systemctl stop fr24feed

To terminate – press Ctrl+C at any point

Step 1.1 – Enter your email address (username@domain.tld)
$:FR24のアカウントのメールアドレス

Step 1.2 – If you used to feed FR24 with ADS-B data before, enter your sharing key.
If you don’t remember your sharing key, you can find it in your account on the website under “My data sharing”.
https://www.flightradar24.com/account/data-sharing

Otherwise leave this field empty and continue.
$:すでに受信機を開設してIDをもらっていてそれを使いまわす場合はそれを打つ、初めてならば空でEnter

Step 1.3 – Would you like to participate in MLAT calculations? (yes/no)$:yes

IMPORTANT: For MLAT calculations the antenna’s location should be entered very precise!

Step 3.A – Enter antenna’s latitude (DD.DDDD)
$:設置位置の緯度を10進

Step 3.B – Enter antenna’s longitude (DDD.DDDD)
$:設置位置の経度を10進

Step 3.C – Enter antenna’s altitude above the sea level (in feet)
$:設置位置の高度(単位:フィート)

Using latitude: **.****, longitude: ***.****, altitude: **ft above sea level

Validating email/location information…OK

The closest airport found is ICAO:RJ** IATA:*** near *******.

Latitude: **.*****
Longitude: **.*****
Country: Japan

Flightradar24 may, if needed, use your email address to contact you regarding your data feed.

Would you like to continue using these settings?

Enter your choice (yes/no)$:yes

We have detected that you already have a dump1090 instance running. We can therefore automatically configure the FR24 feeder to use existing receiver configuration, or you can manually configure all the parameters.

Would you like to use autoconfig (yes/no)$:yes

Step 6 – Please select desired logfile mode:
0 – Disabled
1 – 48 hour, 24h rotation
2 – 72 hour, 24h rotation
Select logfile mode (0-2)$:0

Submitting form data…OK

Congratulations! You are now registered and ready to share ADS-B data with Flightradar24.

Your sharing key (***********) has been configured and emailed to you for backup purposes.
Your radar id is T-RJ***, please include it in all email communication with us.
Please make sure to start sharing data within one month from now as otherwise your ID/KEY will be deleted.

Thank you for supporting Flightradar24! We hope that you will enjoy our Premium services that will be available to you when you become an active feeder.

To start sending data now please execute:
sudo systemctl start fr24feed

Saving settings to /etc/fr24feed.ini…OK
Installation and configuration completed!
最後の指示通り、サービスを起動させる。
sudo systemctl start fr24feed
Raspberry PiのIPアドレス:8754 にアクセスすると、ブラウザで受信状況が表示される。Settingsをクリック
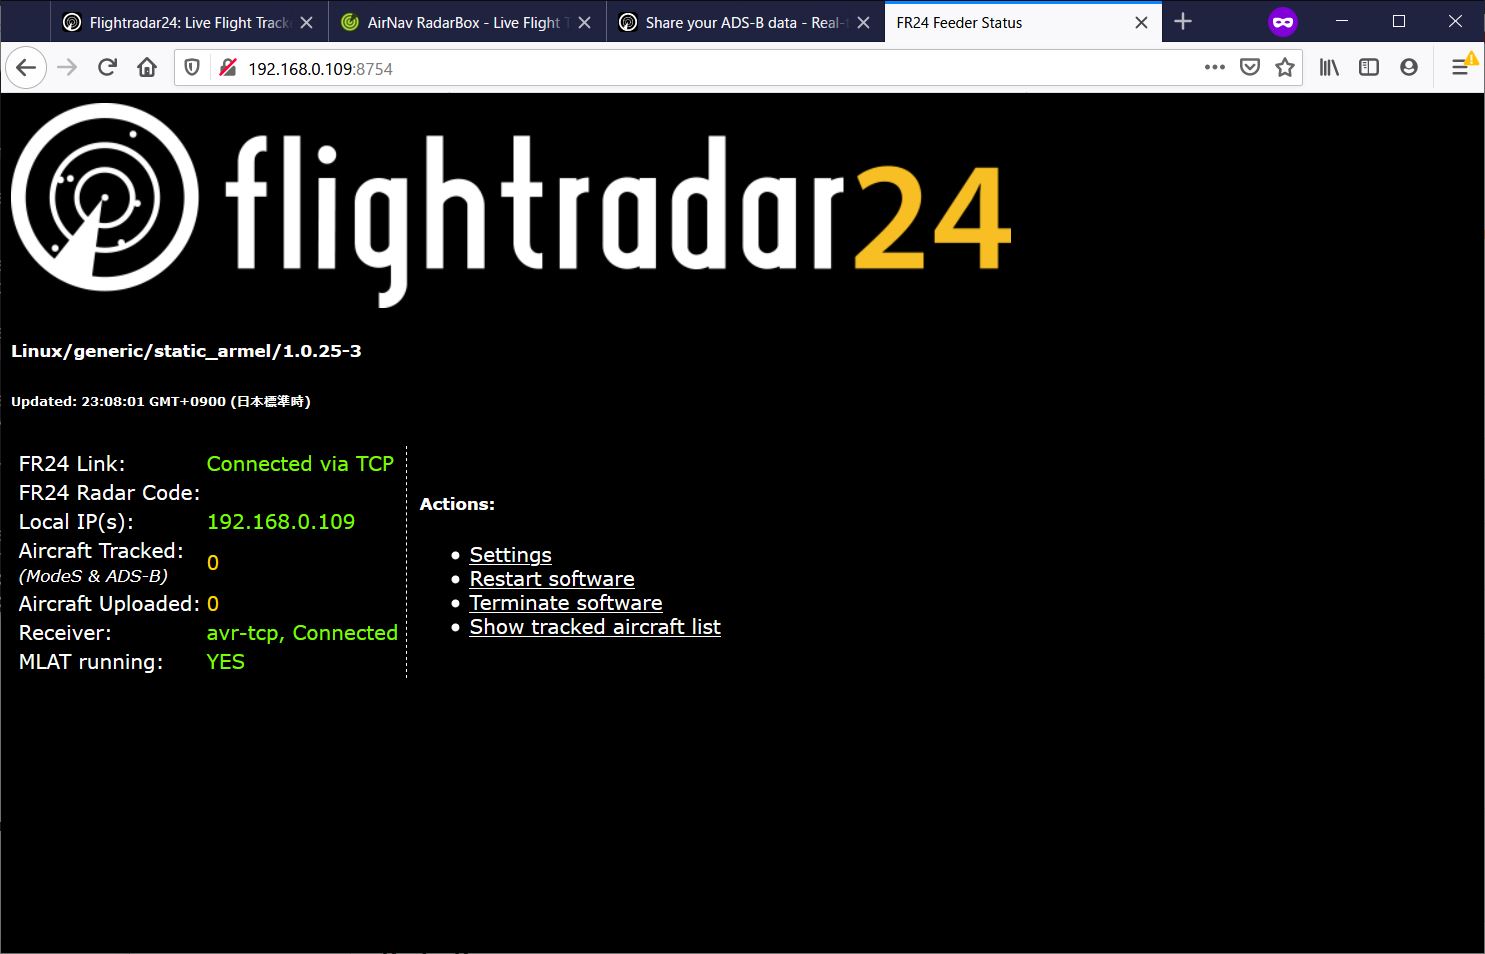
Reciever と Host/IP を以下に変更する。変更後Save→Restart
Receiver: ModeS Beast (USB/SERIAL TCP)
Host/IP: 127.0.0.1:30005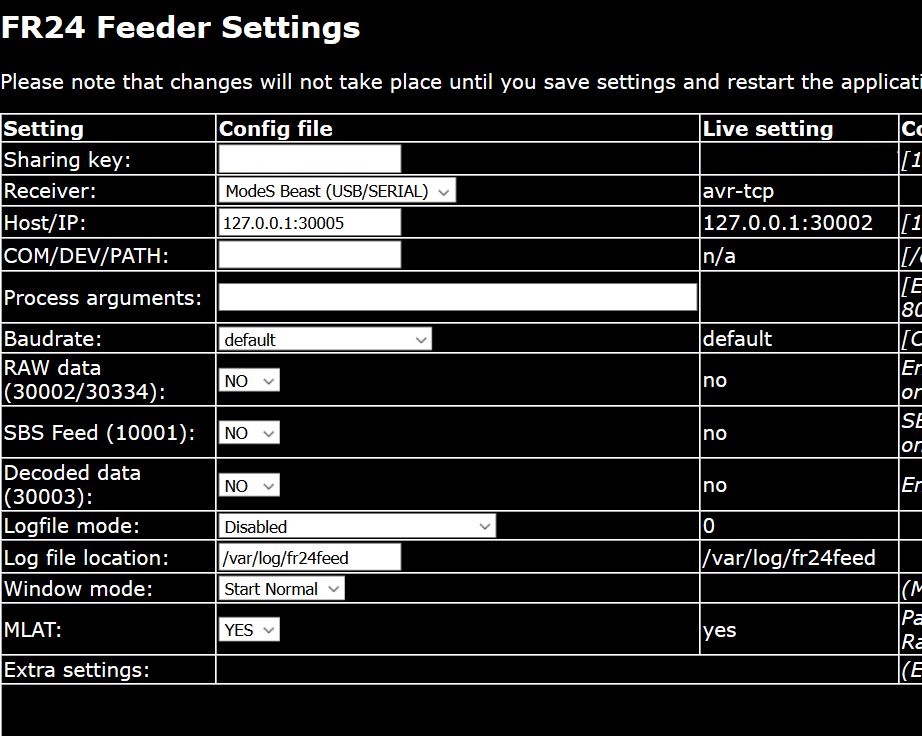
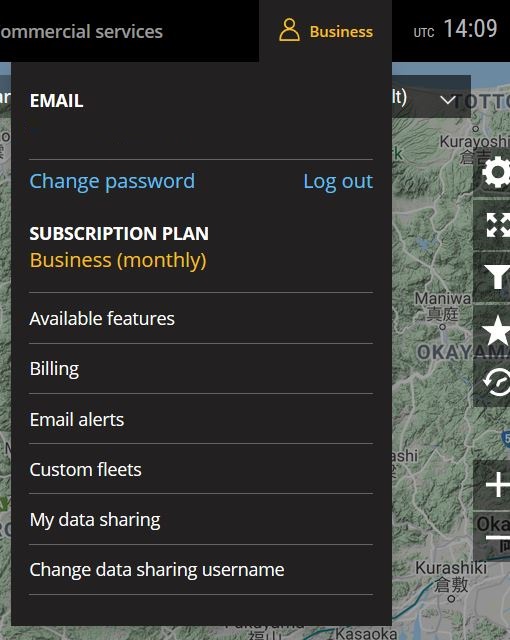
fr24feedにて航空機の位置が受信・送信でき、しばらく経つとFlightradar24のサイト右上にBusinessと表示され、アカウントがアップグレードされた。
RadarBox
RadarBoxもこのコマンド一つ。
sudo bash -c "$(wget -O - http://apt.rb24.com/inst_rbfeeder.sh)"
途中、北米向けの978MHz帯の同様の通信?のデコード用ソフトはどうするか聞かれるがNoで
Do you wish to install dump978-rb program? (y/n) n
終了すると終わった的なメッセージが出るので、RadarBoxのサイトで登録するSharing Keyを吐き出させる。
このキーを https://www.radarbox.com/raspberry-pi/claim で流し込む。
sudo rbfeeder --showkey --no-start

Sharing key: ***********************************
You can link this sharing key to your account at http://www.radarbox24.com
Configuration file: /etc/rbfeeder.ini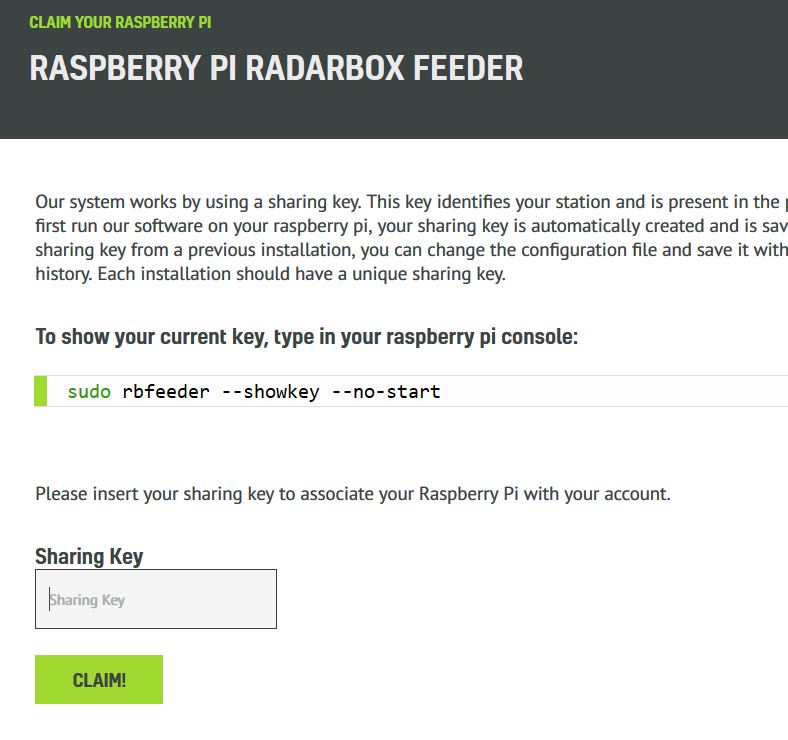
MLATを有効にするために、ソフトウェアのインストール(本当に必要かは不明)、またFR24のとき同様コンフィグを変更する。
sudo apt-get install mlat-client -y
sudo nano /etc/rbfeeder.ini
clientとnetworkに注目し、これらが既に記載されていれば以下に置換える。
[client]
network_mode=true

[network]
mode=raw
external_host=127.0.0.1
external_port=30005
再起動か、rbfeederのサービスを再起動させる。
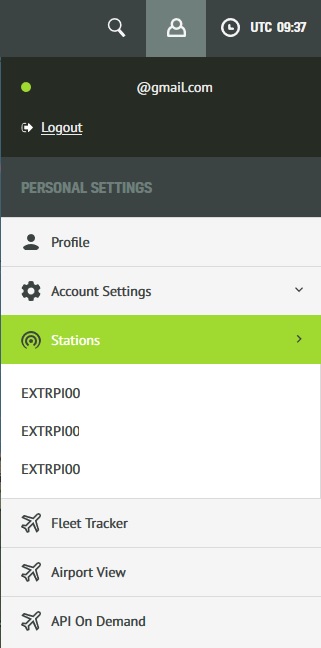
sudo systemctl restart rbfeederRadarBoxのサイトにアクセス、ログインした状態で右上人のアイコンを、先ほど登録したStationsを開き、緯度経度と標高の設定をする。
Swapを崩御させる
microSDカードへのリードライトを少しでも減らさせるため。
sudo swapoff --all
sudo apt-get purge -y --auto-remove dphys-swapfile
sudo rm -fr /var/swap